InDesign is a trusted tool used by designers all over the world. Because of its versatility and reliability, it has been an industry-standard tool. It is excellent for magazines, flyers, books, newspapers, etc. It is usually used for print designs and rarely for web graphic designs.
Like InDesign, Canva is also great for quality print designs. It is very simple to use and easy to learn. Designers use Canva over any design tool to produce stunning designs fast. It also has excellent accessibility since it is web-based, thus, ideal for working with a team.
And so, Canva and InDesign would make an outstanding combo for printing projects.
If you’re a graphic designer, you may have to work with these tools. Like for example, in the case of a magazine project with a tight schedule to work with. You can take advantage of magazine templates in Canva. The templates help you work faster and spark your creativity further. You can import the designs to InDesign and then polish the pages there.
The tricky part is you can’t directly import Canva to InDesign. Canva is an online platform, while InDesign is a desktop application. There’s no such thing as a Canva file in the first place. Thus, there is no software that can convert Canva to InDesign. It is also not possible to export files to InDesign in Canva.
So then, can you import Canva to InDesign? The good news is there are workarounds.
Here’s how to import Canva to InDesign:
- Export as JPEG, then Import to InDesign
- Export as SVG, then Import to InDesign
- Export as PDF, then Import to InDesign
Option #1: Export as JPEG, then Import to InDesign
JPEG is small in file size and light to work with. If you are dealing with a project that deals with a lot of pages and images, this is the way to go. You can use Canva to export your design to JPEG. You can then import it to InDesign.
JPEG images have great qualities when exported to InDesign. But there are downsides to using this method. Images with large expanses of one color tend to lose sharpness in print quality. Also, you can not edit existing designs or texts once imported. You have to edit everything in Canva before importing it to InDesign. You then have to be completely confident before importing it.
Step 1: Log in to your Canva account.
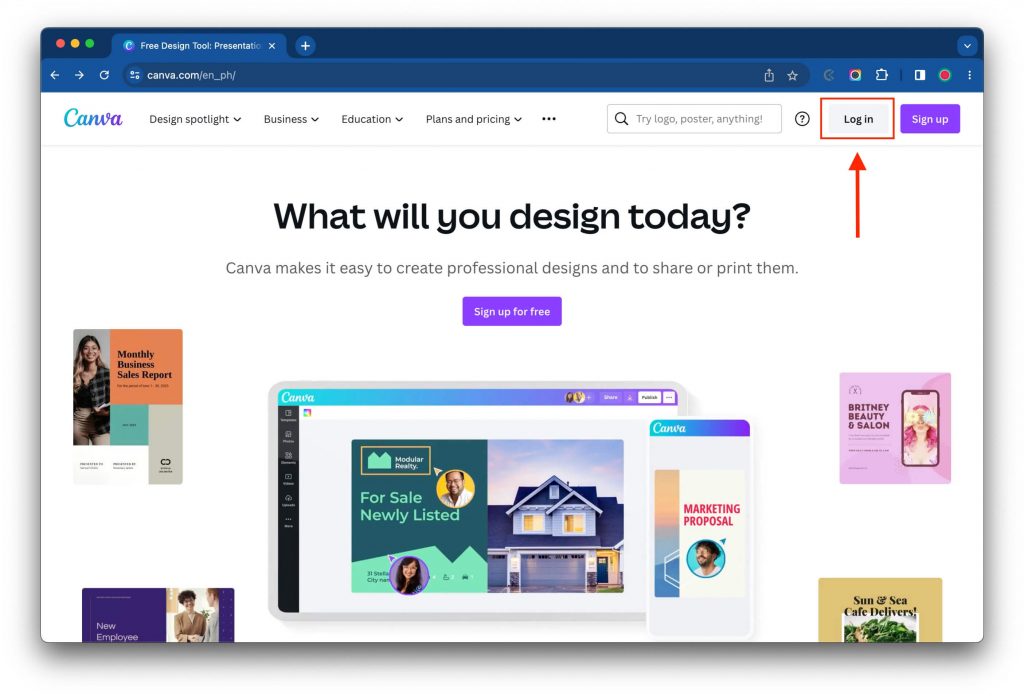
If you aren’t already signed up, you can quickly do this by using your email.
The tool is completely free to use; however, Canva Pro can give you access to premium features such as more templates, background remover, and content planner.
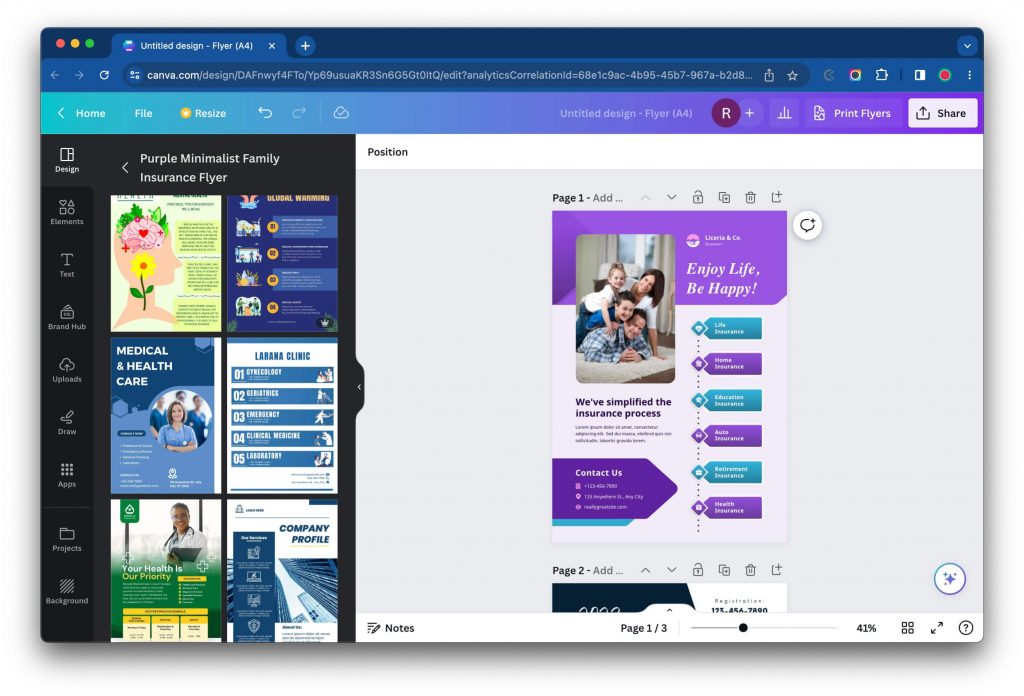
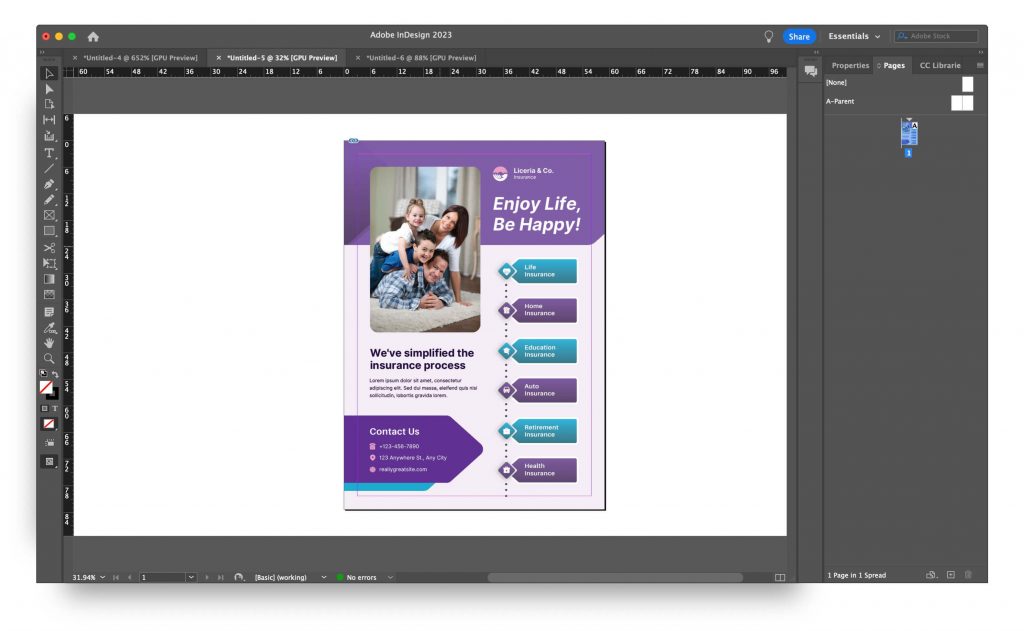
Step 2: Create a unique presentation using Canva’s expansive template library. Alternatively, you can open a design you have already made.
Here’s an example:
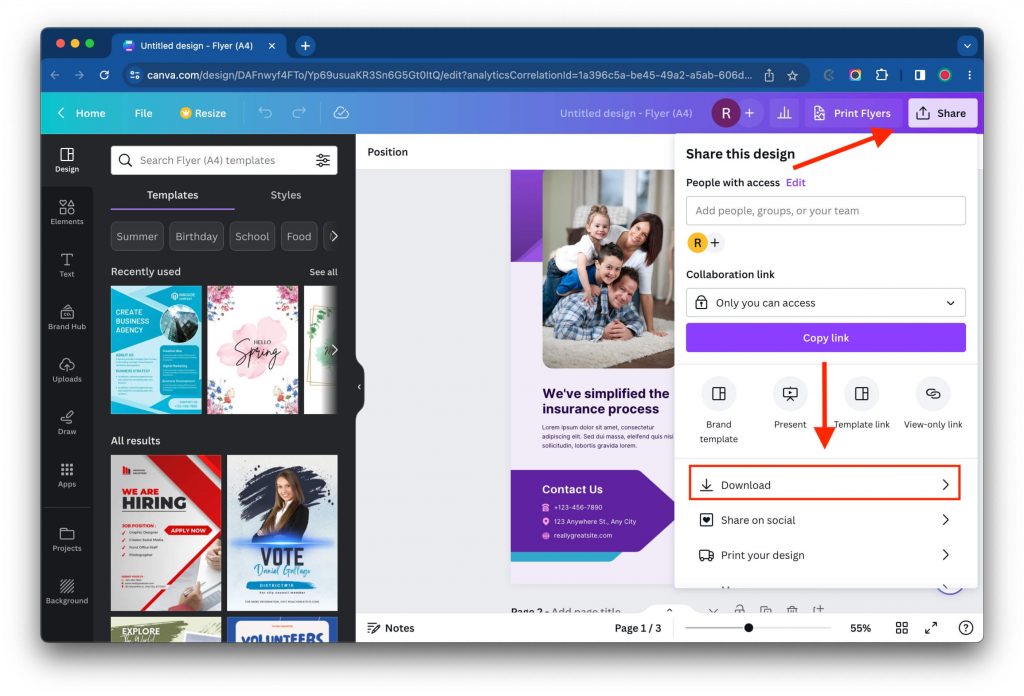
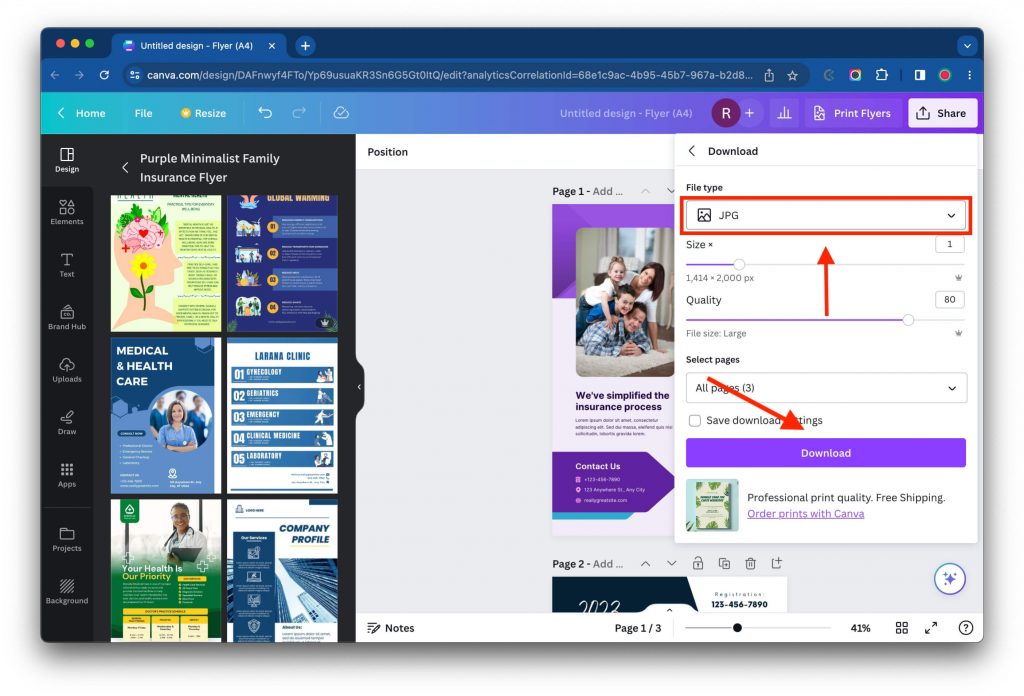
Step 3: Click on the “Share” button in the top-right corner of the screen. In the pop-up, click the “Download” button.
Step 4: Change the File type to “JPG” and click “Download.”
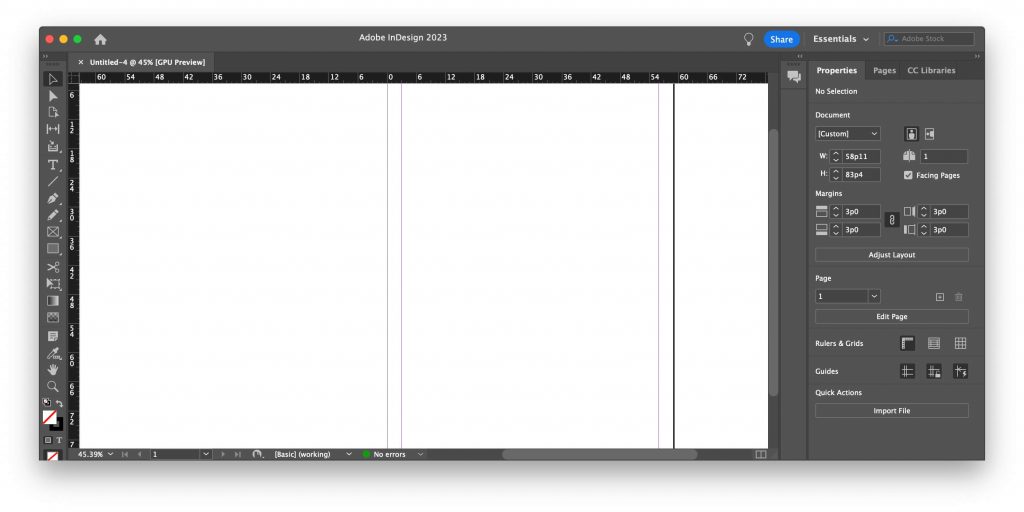
Step 5: Open your InDesign application and create a new document.
Step 6: In the “File” menu, select “Place.” Select the file you downloaded from Canva, and click “Open.”
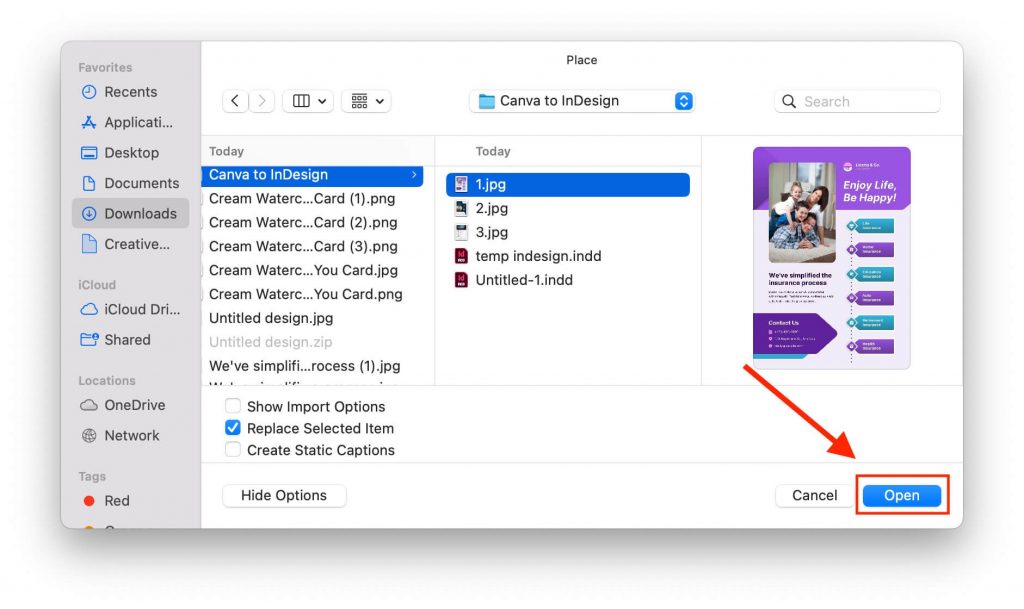
Step 7: You can click on a location where you want to place the file, drag it to resize, or you can simply drop the file in the canvas.
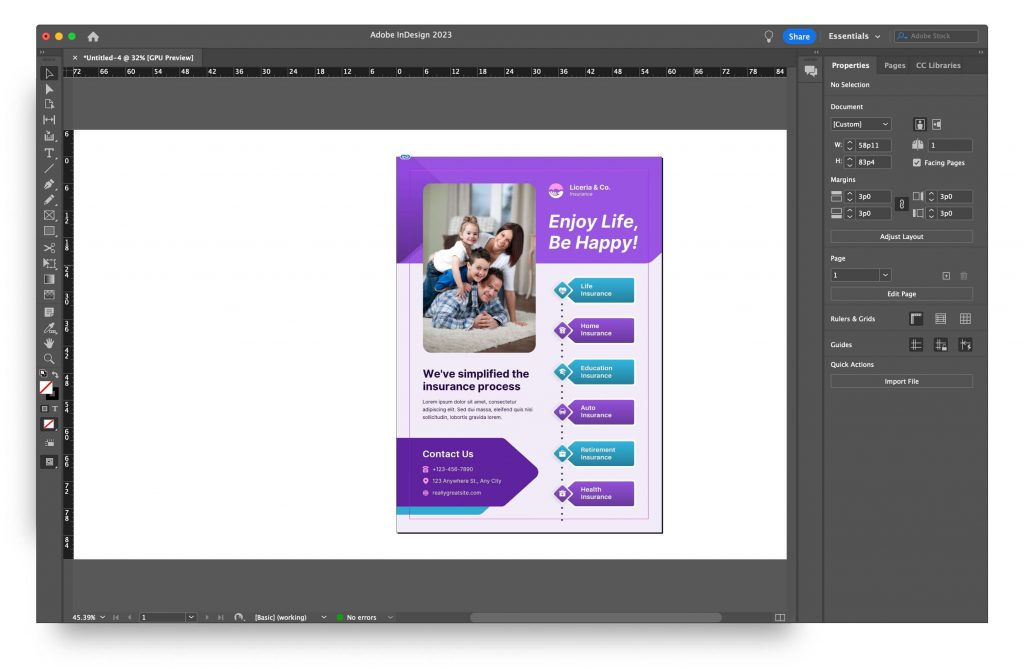
NOTE: While JPEG formats are widely compatible, they may not be ideal for professional print production. If you export a Canva image as JPEG or PNG and open it in InDesign for print purposes, you might experience a loss of image quality or issues with transparency.
Option #2: Export as SVG, then Import to InDesign
If you are wondering how to import Canva to Indesign and still be able to edit it, exporting it as an SVG file is for you.
You can export your Canva design to SVG and import it to InDesign. The SVG file will then be placed on a new layer. You can then edit it in InDesign with the option Edit with Illustrator. The editing is real-time with InDesign, without switching between the two Adobe programs.
The drawback is that some of its features can be lost when imported. Also, SVG files have RGB colors unsuitable for professional printing. You must keep in mind to stick to CMYK colors in InDesign for the best printing quality. To make sure, you have to set the right option for printing right at the start or right after importing.
Step 1: Just like in Option 1, you need to log in to your Canva and create a design.
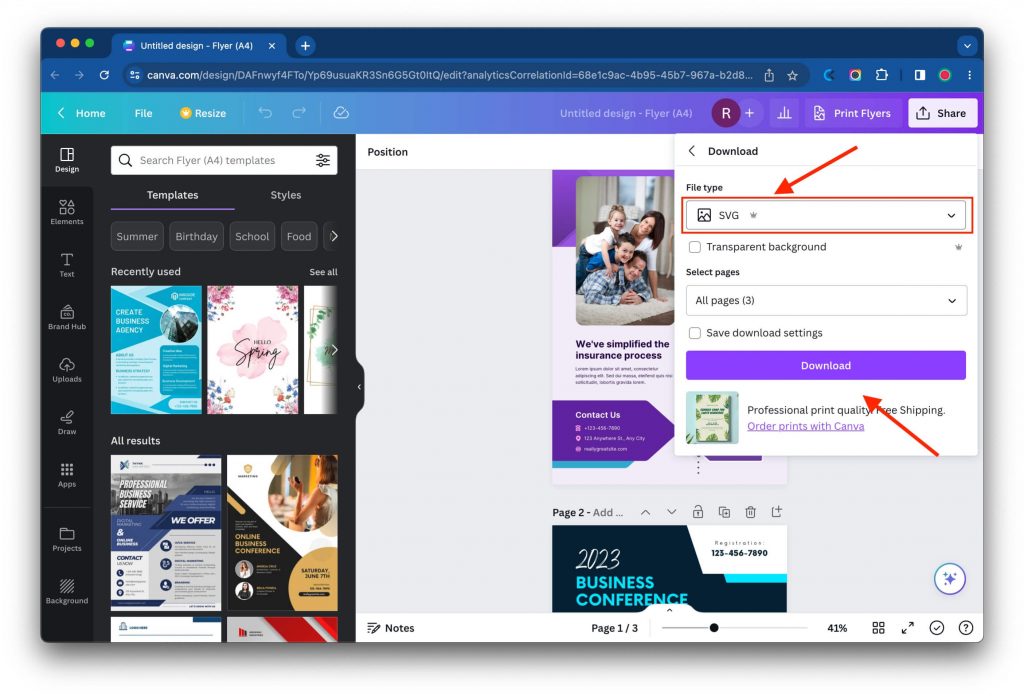
Step 2: In the “Share” option, change the File type to “SVG” and click “Download.”
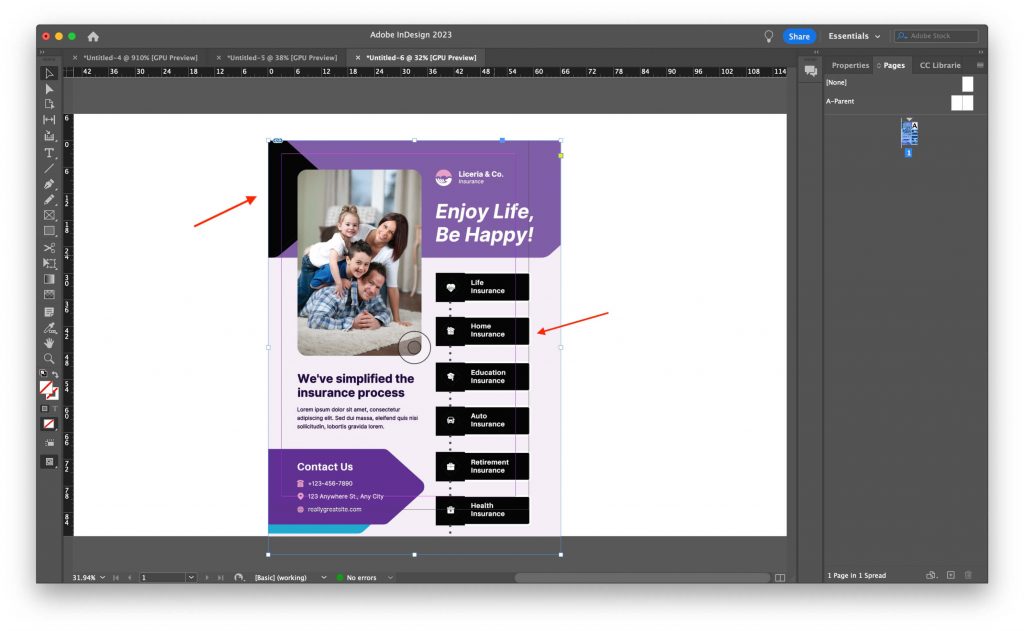
Step 3: Create a new document in your InDesign, and place the SVG file just like in Option 1.
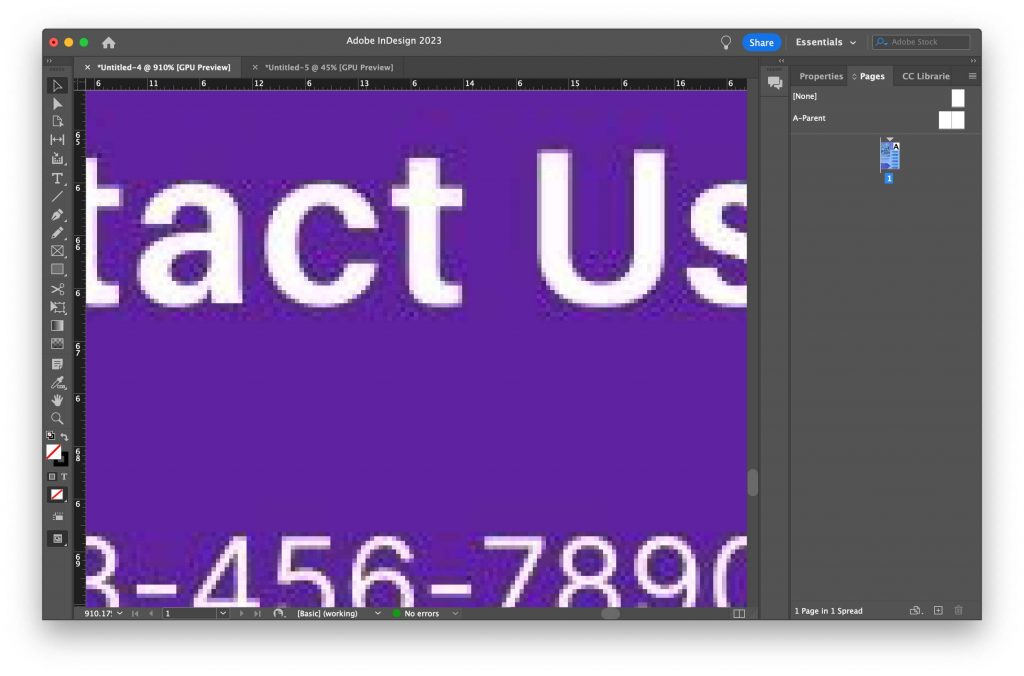
When importing SVG files into InDesign, you may observe that the shapes and colors are not accurately rendered or displayed as intended.
Option #3: Export as PDF, then Import to InDesign
Another way to import Canva to InDesign and still edit it is by this method. This produces high-quality designs and images as well.
You can import Canva to Indesign by PDF. You can then edit and manipulate the PDF using InDesign tools. This is done with the option Edit with Illustrator. It is done in Illustrator, but the changes made are in real-time with InDesign.
There is a size limit of 200 inches, and importing will fail if it exceeds. Thus, this method is not suited for giant banners or posters.
Even if a PDF can have multiple pages, InDesign can only open the first page of the PDF file. Thus, when exporting from Canva, you need to export the pages separately.
Step 1: Just like the two other options, you need to log in to your Canva and create a design.
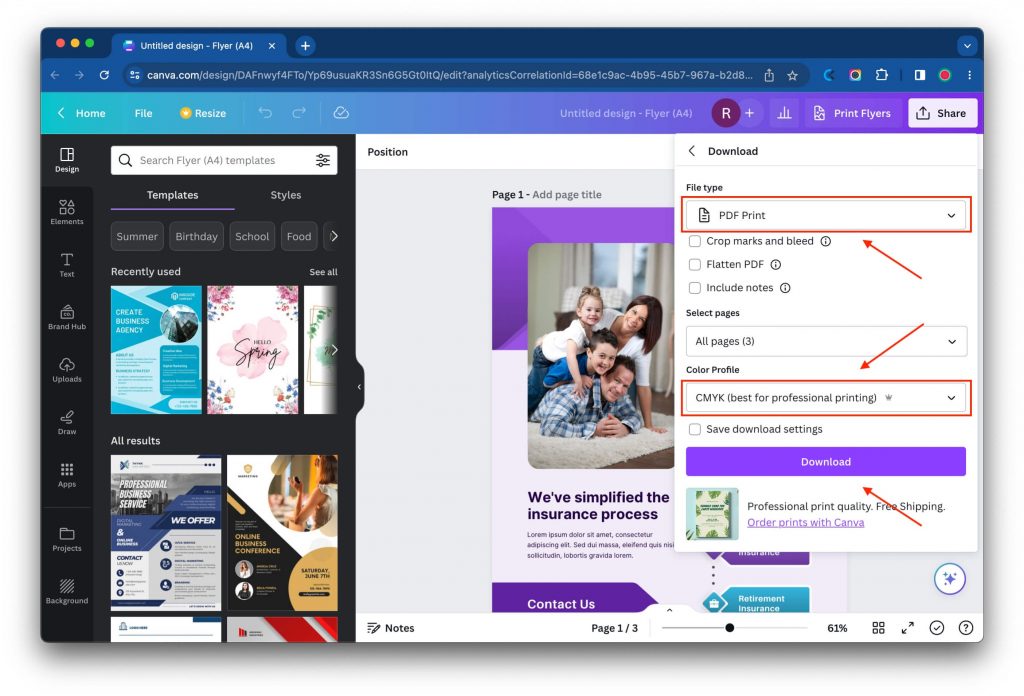
Step 2: In the “Share” option, change the File type to “PDF Print” and click “Download.”
Step 3: Create a new document in your InDesign, and place the PDF file just like in the two other options.
When importing PDF files into InDesign, you’ll find that the details are preserved even when zooming in, ensuring a high-quality representation of the content.
In conclusion…
While direct import of Canva designs into Adobe InDesign is not currently possible, you can still incorporate Canva content into your InDesign projects by exporting Canva designs as images (PNG, SVG, or JPG) or PDF files. By leveraging these exported files, you can effectively utilize Canva designs within InDesign, ensuring seamless integration of visually appealing elements into your professional print and digital media layouts.
FAQs
Q: How can you optimize InDesign for printing quality?
You have to adjust the Intent of the document to Print. This way, it will change the color mode to CMYK. CMYK color is more suitable for print graphics than any other color mode.
Q: Why is CMYK color preferred over RGB color for print design?
As RGB color is based on colored light and not colored ink, it is optimized for digital web design. While CMYK color is based on a combination of colored inks, thus it is ideal for creating documents for printing.
Q: Can you edit vector files in InDesign?
Yes, you just have to choose the option Edit with Illustrator. The vector editing will be in Adobe Illustrator, but the changes will be incorporated into the InDesign file in real-time.
Q: Can you directly import Canva to InDesign?
It is not possible to directly import Canva files into Adobe InDesign. Canva and InDesign are separate design tools with different file formats and functionalities. However, you can manually recreate or export elements from Canva and import them into InDesign for further editing or refinement.
Q: Will my design look the same when I import it from Canva to InDesign?
Simple designs with basic shapes and text should transfer easily. However, if your design has complicated layouts, gradients, or effects, you may need to make manual adjustments in InDesign to make it look the same.