How to Add or Insert Photos in Canva (Step-by-Step)


Want to insert photos in Canva? There are three easy ways to do it: upload your own images, pick a stock photo from Canva’s library, or simply drag and drop a file into the editor. In this guide, we walk through each method step by step, with screenshots of the current Canva editor.
All methods work on the free plan. Moreover, the same steps apply to presentations, social posts, and any other design type. Let’s start with the most common one: adding your own pictures.
Method 1: Upload and insert your own photos in Canva
Step 1: Open a design
First, log in at Canva.com and open an existing design, or create a new one with the “Create a design” button. A free account is enough for everything in this guide.
Step 2: Open the Uploads panel
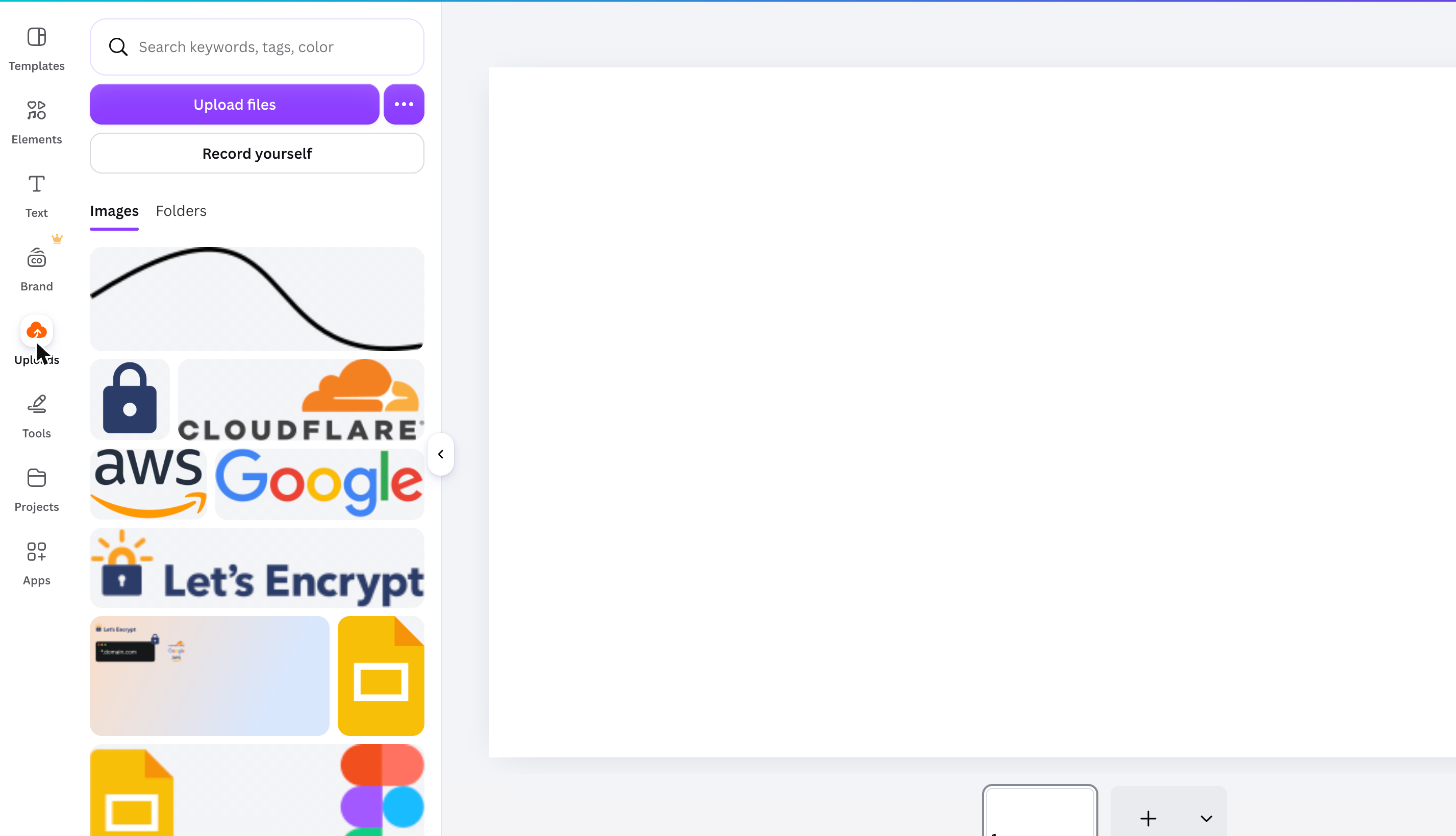
In the editor, click Uploads in the left side panel, then click the purple Upload files button. Select one or more images from your computer. As a result, your pictures appear in the Images tab, ready to use in any design.
Step 3: Click the photo to add it
Click any uploaded image and Canva places it on the current page. Alternatively, drag it from the panel to exactly where you want it. You can then resize it with the corner handles or double-click to crop.
Method 2: Insert stock photos from the Elements gallery
You don’t always have the right picture on your computer. For that reason, Canva ships a huge stock gallery. Click Elements in the left panel, type what you are looking for, and switch to the Photos tab of the results.
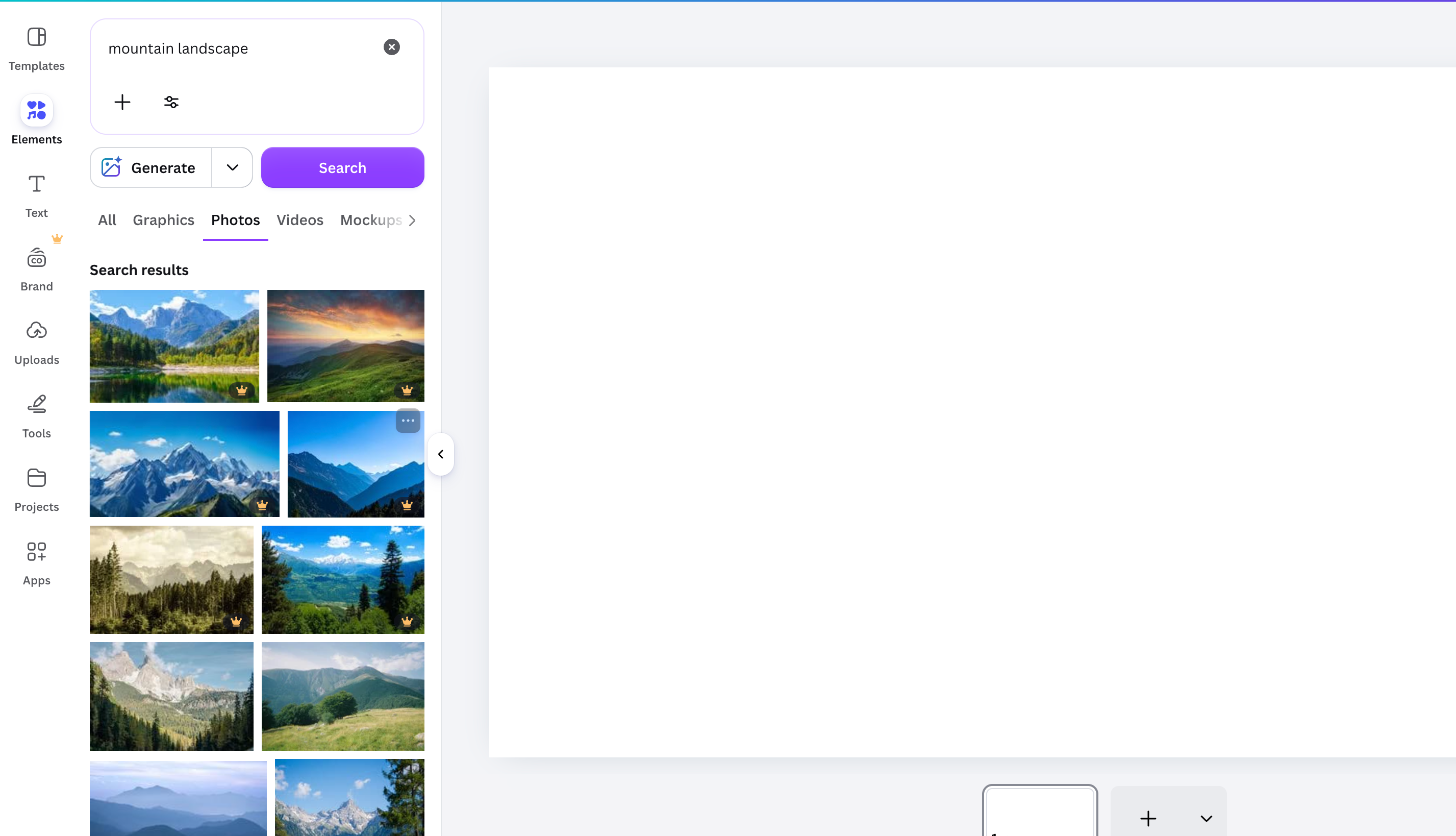
Photos with a small crown badge are Pro content. They show a watermark until you either upgrade or buy a one-off license. However, there are plenty of free photos: just pick one without the crown and click it to insert it.
Method 3: Drag and drop or import from cloud storage
The quickest method of all: drag an image file straight from your file manager onto the Canva canvas. Canva uploads it and places it in one step. In addition, you can import pictures from Google Drive, Dropbox, or OneDrive through the Apps section of the side panel, which is handy when your assets live in the cloud. Canva’s own upload media guide covers the cloud connections in detail.
Editing a photo after you insert it
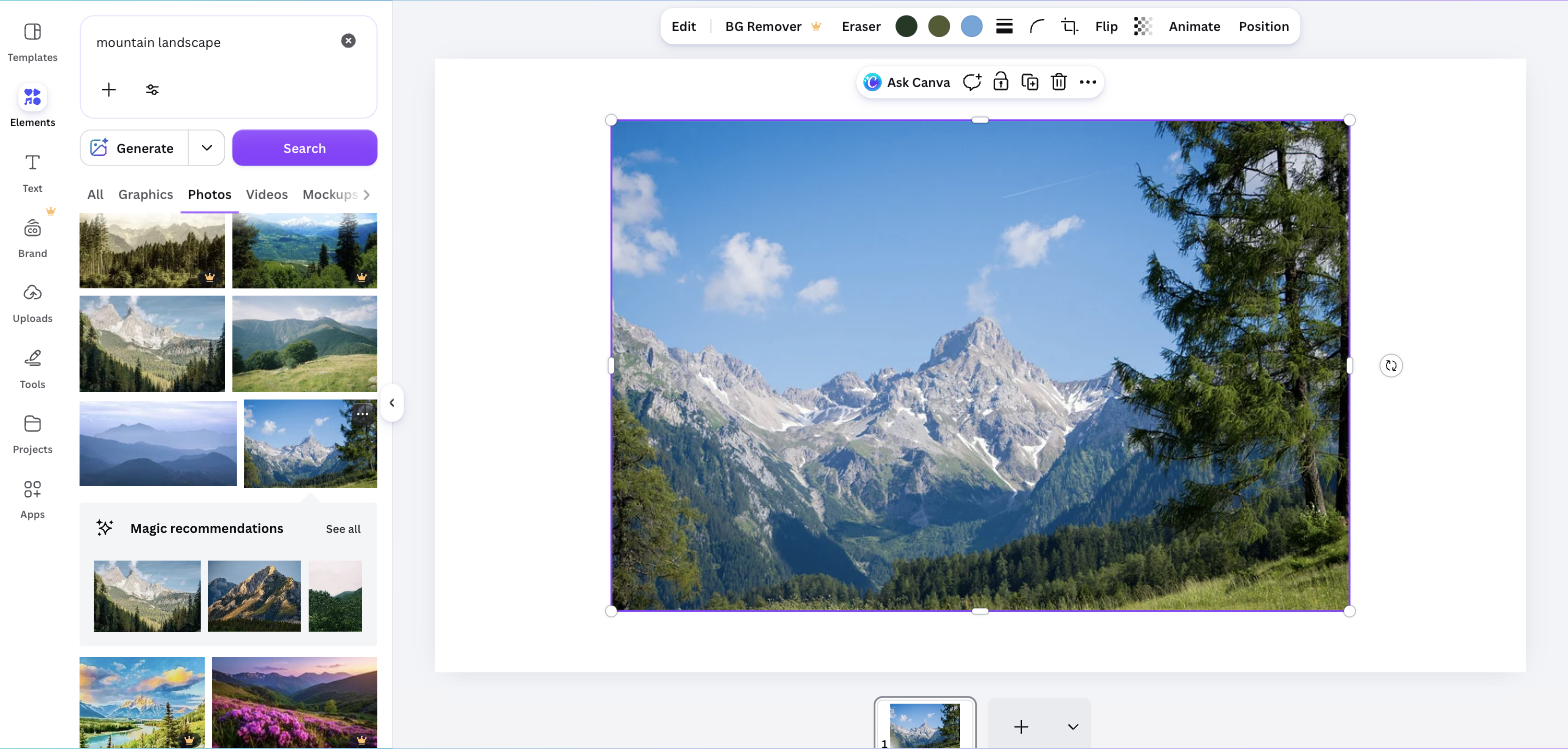
Once a photo sits on the canvas, select it and a toolbar appears above the page. From there you can crop, flip, or animate the image, apply filters through Edit, and even remove the background (a Pro feature). Position controls let you send the photo behind text or align it precisely.
Which image formats can you add to Canva?
Canva accepts the common image formats: JPG, PNG, HEIC, WebP, and SVG. Free accounts get 5 GB of upload storage, while Pro raises that to 100 GB, so storage is rarely a problem for photos.
Design files are a different story. Canva cannot insert Photoshop (PSD), Illustrator (AI), or Sketch files as images. Therefore, if your artwork lives in one of those formats, convert it first. Our PSD to Canva converter turns Photoshop files into editable Canva designs, and there are converters for the opposite direction too.
Troubleshooting: photo won’t upload?
- Upload button does nothing: restart the browser or try another one; corporate Brand controls can also disable uploads.
- File rejected: check the format. Convert exotic formats to JPG or PNG first.
- Watermarked image: you picked a Pro stock photo. Choose a free one or license it.
That’s everything you need to insert photos in Canva. If you found this useful, you may also like our guides on adding a bleed in Canva and converting Canva designs to PowerPoint.
Frequently asked questions
How do I add a picture in the Canva mobile app?
The flow mirrors the desktop editor. Tap the plus button in the bottom toolbar, choose Uploads, and pick an image from your camera roll. Similarly, the Elements search works on mobile for stock photos.
Can I insert several photos at once?
Yes. Select multiple files in the upload dialog, or drag a whole selection onto the canvas. Afterwards, each photo lands as its own element that you can arrange individually. For photo collages, search “photo collage” in Templates and drop your pictures into the placeholder frames.
Does inserting a photo reduce its quality?
Canva keeps the original resolution of your upload. Quality only drops if you stretch a small image far beyond its native size, or if you export the design in a compressed format. Consequently, upload the highest-resolution version you have and pick PNG when downloading if crisp detail matters.